August 31, 2011

New shirt designs!


Hi everyone!

I'll have the modifications to Puffcloud done within the week, but I've been busy doing my shirt designs, also! I encourage you to head over to Poni Apparel and take a look!


August 27, 2011

My Little Pony Custom Blind Bag: Spitfire


Another done!

This project has been around a few weeks waiting to be finished, so before I work more on the customs I wanted to finish her.

And here she is! Spitfire!

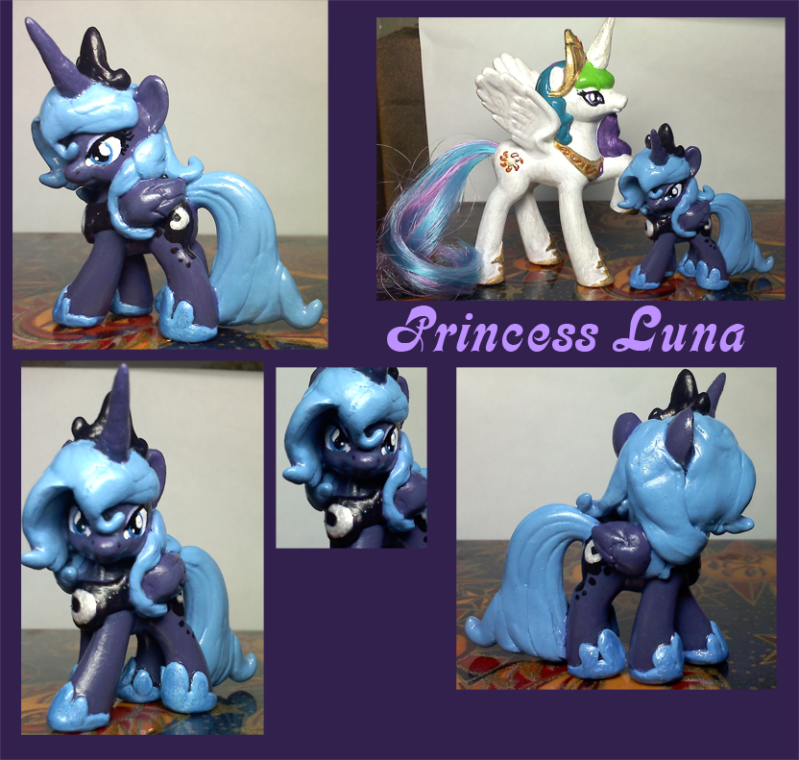
She was a pain! I used a Rainbow Dash base to make her, and cut away almost all of her mane and smoothed out her forehead.

Her hair is made from pro-create (grey stuff), and I did something else. It's hard to see in these photographs, but I used greenstuff around her muzzle and wings to raise the area. In effect, it looks like her wings and muzzle are emerging from the costume.

She is for sale on Ebay here.

August 24, 2011

Puffcloud Custom Blind Bag - Part 2

Okay! On to part two.

Bare with me on this portion, guys! This is a hard part to make any sort of a tutorial about.

Last time, we pared down the plastic to make room for some sculpting. There are many kinds you can use. Personally, I like to use Grey Stuff for the modifications.

The top name brand of Grey Stuff is pro-create, but any two-part epoxy putty will do - Apoxie Sculpt, Green Stuff, Brown Stuff. They all have different properties, but I will go into that in a separate post!


When using epoxy putty, you will only have a certain amount of time to work with it...this varies depending on the mix you've created and what you are using.

To sculpt, you will need your fingers to be moist. Water will do fine, some people prefer vaseline!


After reviewing Puffcloud's character picture, I decided to try using the extra Lily Blossom wings I had from making Lyra! Since I had to destroy Twilight's mane on this side of the body, I used the grey-stuff for her mane to help support the wings.


At this point, I'm not worried if things look rough. After the putty sets and hardens, it can be filed down. But it's best to try and make parts as thin as possible near the seams - by wetting your fingers and stroking in one direction, you can easily thin out putty.

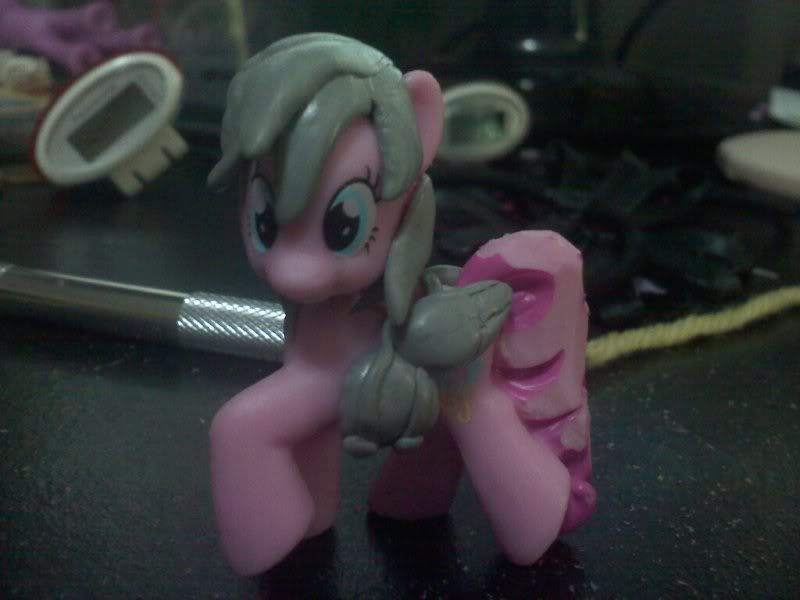
I then patched up the area on top of Puffcloud's hair, and begin to build up her hairstyle.

I smoothed up the design, working off of the pictures, and let the rest set to dry!

Again, don't worry about how rough things look at the start - there's lot of work to be done!

August 21, 2011

Puffcloud Custom Blind Bag - Part 1


Several people have asked for tutorials. I'll compile a more comprehensive, finished version later, but we may as well get started!

Today, I started with the first step of blind bags - trimming!

The first thing you'll want to do is figure out what base you'll be using, and the changes you'll be making. Usually you can do this in your head, but to illustrate I've done a mock up of the changes that will need to be done to make Puffcloud.

Puffcloud requested the pony be made from a Twilight base - but she's a pegasus!

This will be hard, but not impossible. First, the mane and tail changes will require some work, but won't be too hard. Her wings will have to either be closed (I make these from pro-create, a.k.a. greystuff) or open (there are some spare Lily Blossom wings I have from my custom Lyra). I haven't yet decided which to use.


Now that I have a good idea of what I need to do, I begin paring down parts that will get in the way. Twilight has parts of her mane that would overlap the mane I planned, so the easiest thing at this point will be to do away with all of it I can.

For this I use an exacto knife that is older, so is a little more dull. It's dangerous to use what is essentially a razor blade, but it cuts through the vinyl easily. A knife meant for whittling may work as well.
In the early stages this looks rough, but some sandpaper and some more whittling should get rid of most problems. What can't be fixed with that I will repair with green stuff - so don't be afraid of making a few mistakes with the knife. As long as you have the right materials, it can all be fixed.

Stay tuned for more!

Comettail has made it safely home!


Good news!

Comettail, the first (and prototype) custom I did has arrived at her new home!

Her owner is also Comettail. My mind, it spins!


August 20, 2011

Blind Bag Customizing - Thoughts and Tips

My Bronies, I've been thinking.

Blind bag customs have been becoming more and more popular. And as more bronies get into creating them, some more at selling them for profit. I think it's only fair that there be tips and tricks at this point to help out those looking to create their own. There are quite a few wonderful blind bags for sale that are very expertly done, but blind bag customs aren't as hard as people think, and it would be wonderful to help more people make them!

So, in an effort to help bronies, I am going to begin tutorials, tips, and tricks when it comes to customizing and painting blind bags.

Is there anything specific you'd like to see/hear about? There will be a step-by-step guide as I work on Puffcloud's custom that she won on a Ponychan contest.

Coming up soon, the first tip sheet will be regarding paints, thinners, brushes, and what method works best depending on what you want!

Stay tuned!

My Little Pony Custom Blind Bag: Princess Luna, and bonus! Princess Celestia!


Hello everyone!

This baby is a project I've been working on and nursing for a while. I had to stay up until about 3am to finally finish her, but after weeks, she's done!

Princess Luna was originally a Twilight Sparkle. I've seen many customized from Rainbow Dash, but after review, Rainbow Dash's hair is nowhere near Luna's. So with this in mind I started on Twilight. This required no paring down, but lots of pro-create. She was heavily modified with shoes, a fixed tail cap so it curls like Luna's, completely new hair, an elongated horn, a necklace, crown, and wings. One of the reasons she sat around for so long is she's so DAUNTING.


But after so much work, I buckled down and finished her.

Same as the others she was painted with acrylics - many, many, many layers. A glittery varnish was used on her shoes, necklace, crown and horn to make it sparkle...in the show, they do!

Now, when McDonald's had the Happy Meal toys back in February, I bought a full set from my former co-workers at McDs. On impulse one day I bought about 6 Celestias, thinking "Oh, well, I'll customize them for people!". And I still hadn't. It occurred to me that she is the perfect size to be of scale to blind bag ponies!


Unfortunately, the pictures don't do her justice. She was brushed with a white metallic paint after the base white paint, and it shows up horribly on camera but - again - looks good in person.

Celestia is for sale HERE, and Luna is for sale HERE.

My Little Pony Custom Blind Bag: Derpy Hooves, Mailfilly

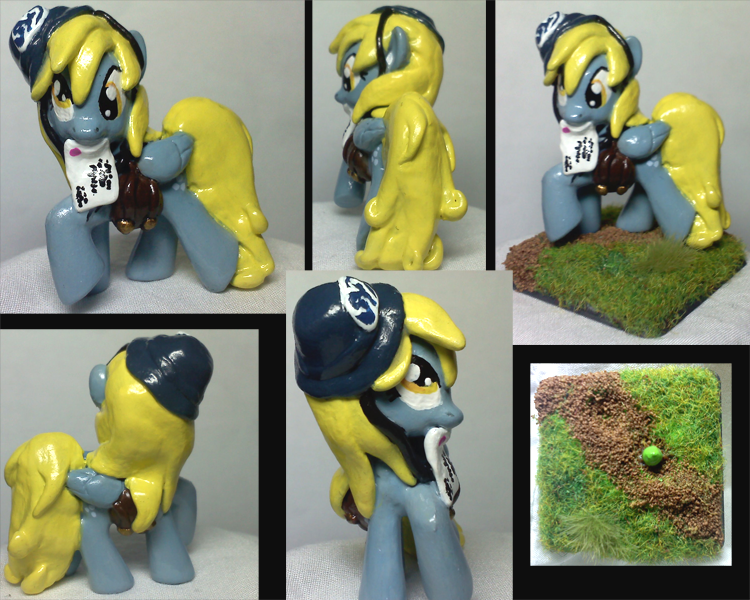
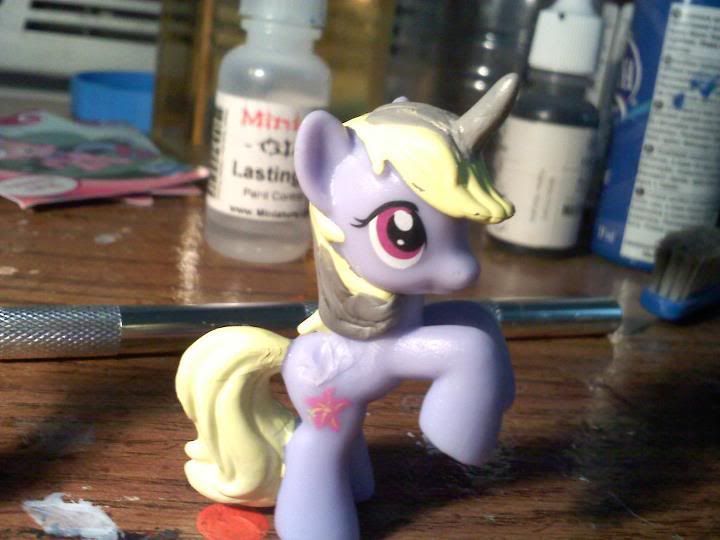
Derpy Hooves was a hard one. She presented me with a problem.

See, I had acquired a lot of ponies from a generous brony (<3 LOVE TO COMETTAIL), and found myself with a lot of Pinkie Pies. Since I began to customize them, I wondered exactly HOW FAR I could go with a blind bag. So, I made Derpy.

As you see above, Derpy started as a Pinkie Pie. Using an exacto knife I whittled down her mane and tail, then built them up with Pro-create, as you see above. Since Pinkie Pie has only one ear, I had to find a solution. I ended up giving her a postal worker hat.

Derpy is still for sale on Ebay - one day left!


My Little Pony Custom Blind Bag: Lyra


Aah, Lyra.

She was a pleasure to make!
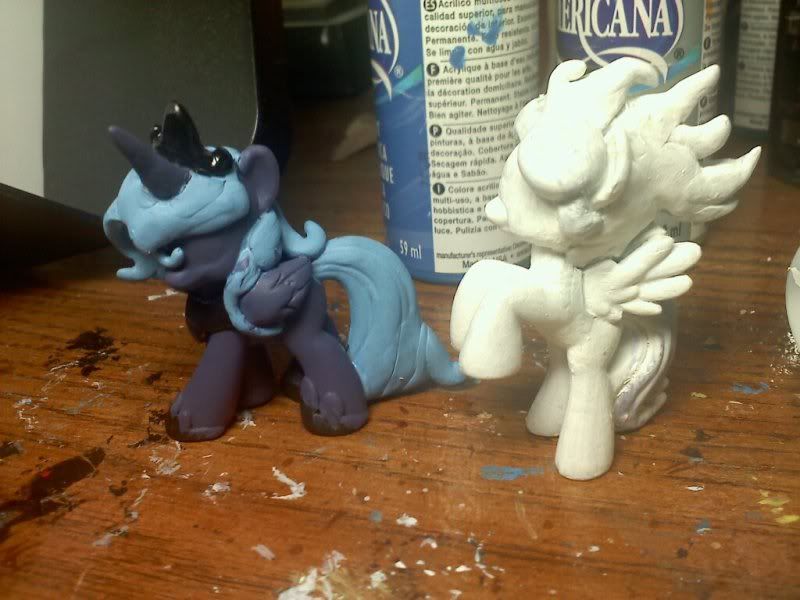
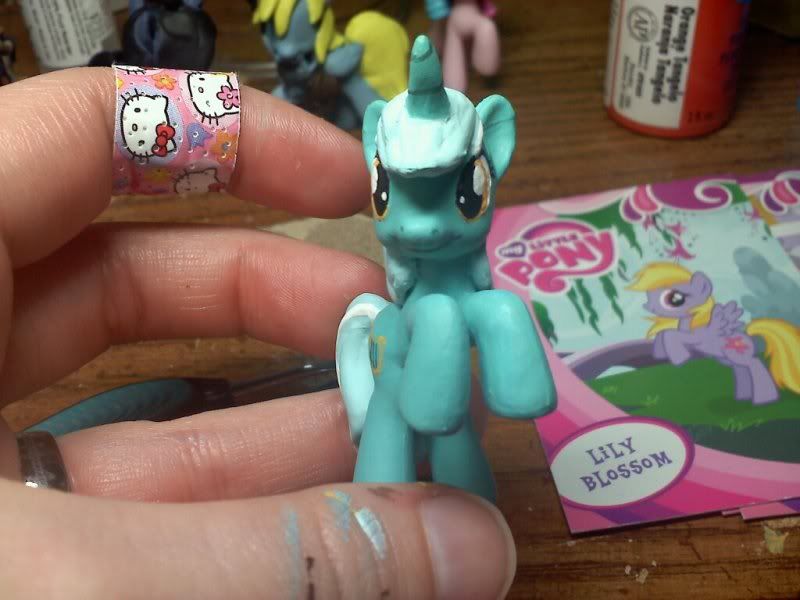
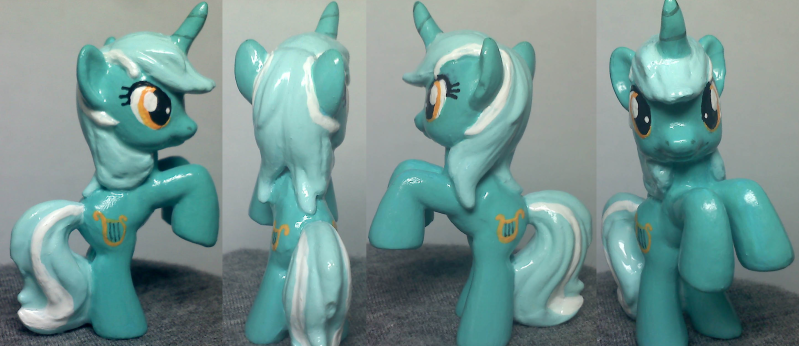
Lyra was created from a base Rainbow Dash (since the blind bags were very hard for me to locate, I had to go to a German brony to get some Euro blind bags). I felt SUPER BAD chopping off poor Lily Blossom's wings.

Her hair was then repaired using pro-create, as were the dents the wings had
left in her side. Her horn was made from pro-create as well.
I then painted her with a myriad of colors. I had mix after mix to try and get her color right.


And here is Lyra herself - the finished product! This one was a headache, but I love the way she turned out. A brony in Canada bought her, and she was shipped just last week.


My Little Pony Custom Blind Bag: Twilight classic

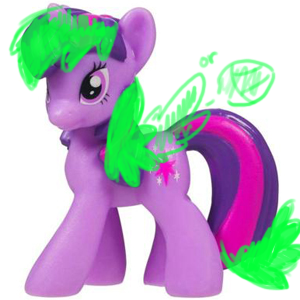
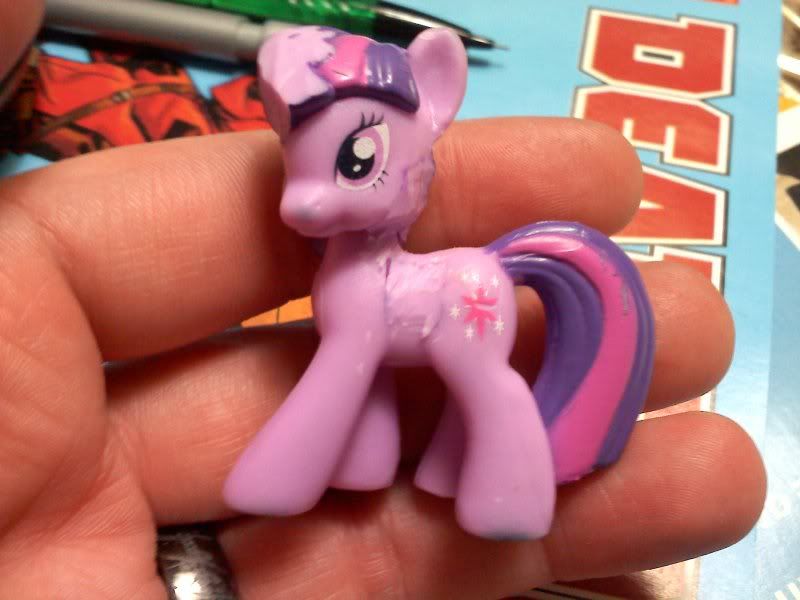
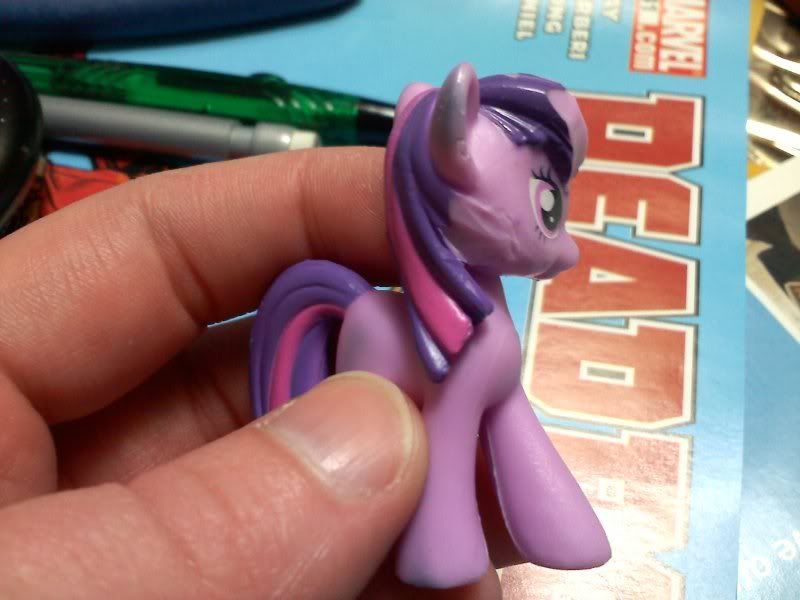
Twilight, Twilight Sparkle's mother, was not as well-received as the other ponies. This has to do with the fact that she was an extremely obscure background character, as well as bad lighting and blurry photos.

I was having a really hard time getting a good picture of her! In person though, she looked absolutely amazing! She went to a good home though, and was bought by another brony.


My Little Pony Custom Blind Bag: The Great and Powerful Trixie


My second custom blind bag pony was none other than:
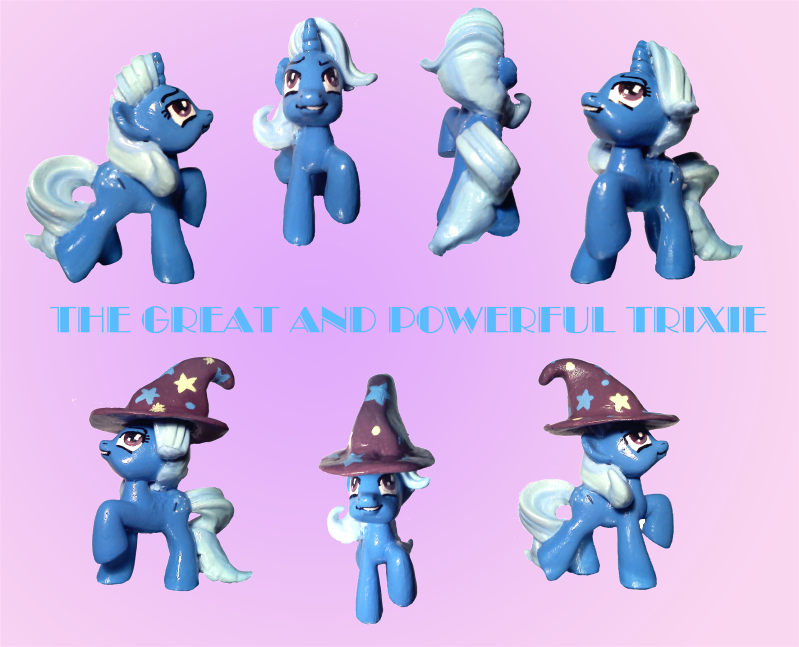
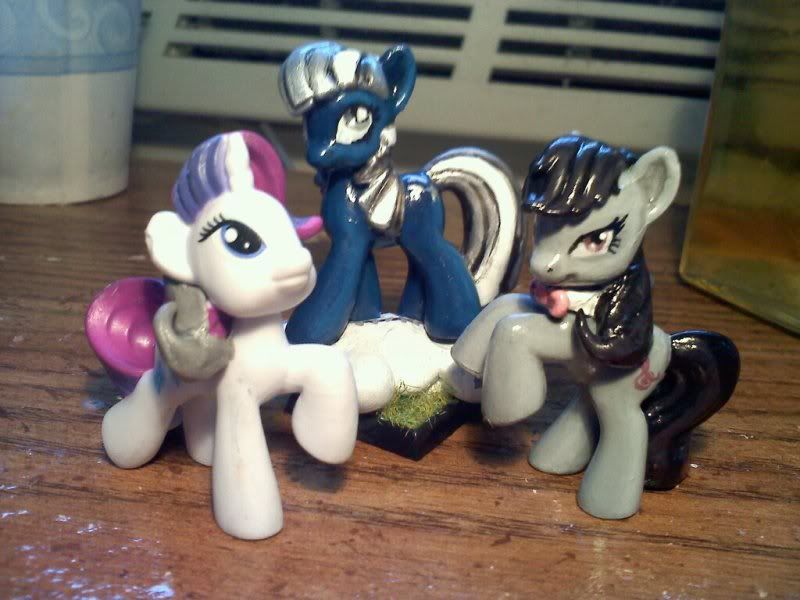
The Great and Powerful Trixie!
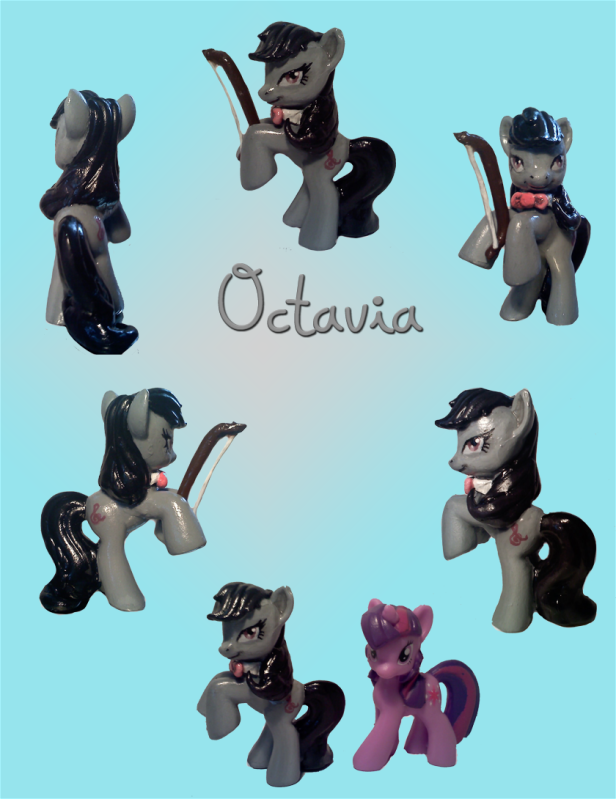
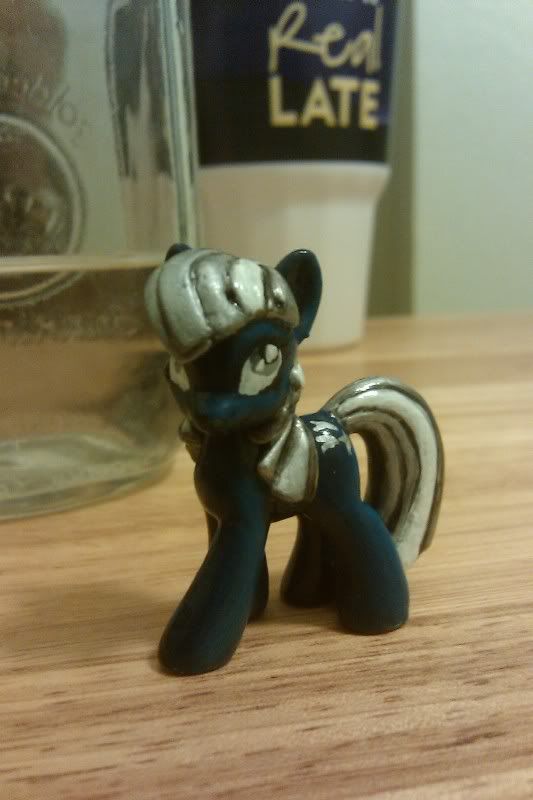
Okay, maybe now she didn't look so Great and Powerful...that's Trixie there on the left. But here was the finished product:

I was still getting the hang of painting pony eyes. It sounds strange, since the designs are so simple, but they are VERY hard to do!


Finished Custom Blind Bag Ponies: Octavia


Well, since this is a new blog I have some catching up to do!

This is my first blind bag custom:

Octavia!

Octavia was made from a modified Applejack, as shown above! She was modified with an Exacto knife, then her hair was repaired and her bowtie was made with Pro-create (a.k.a. Gray Stuff). The bow was made with Sculpey.

This was the finished result!


Octavia made it home!


Ooh, feedback on my Octavia!


Looks like she made it safely home, and the owner loves her. <3 That's so nice to hear!