Last time we had finished the main part of Puffcloud's mane. The character has small bumps on hers though, and it seemed easiest to wait until the bulk was hardened before continuing.
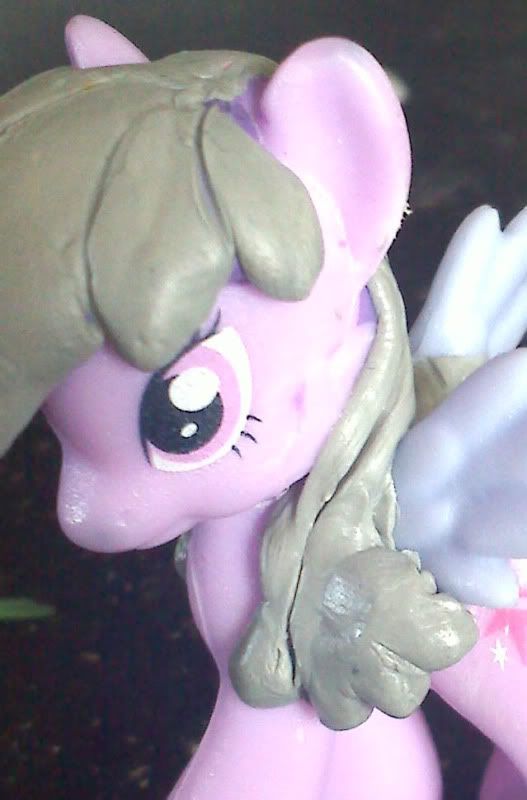
This was done by making small balls with the greystuff, and carefully - with some moist fingers and a lot of caution - working it into the body of the mane so as to make it as seamless as possible.
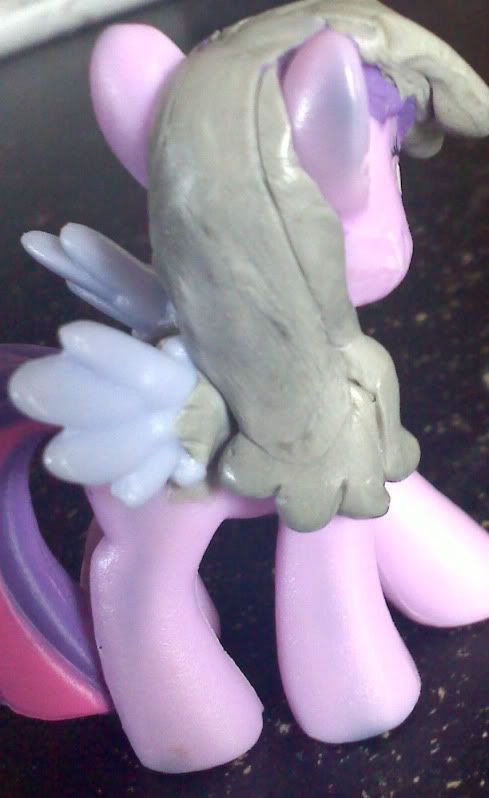 Next, I moved to the tail. Puffcloud's picture (linked in the first post) shows that she has these same nubs on her tail...a total of four. Since Twilight's tail isn't radically different from hers, all had to do was once again add the nubs on.
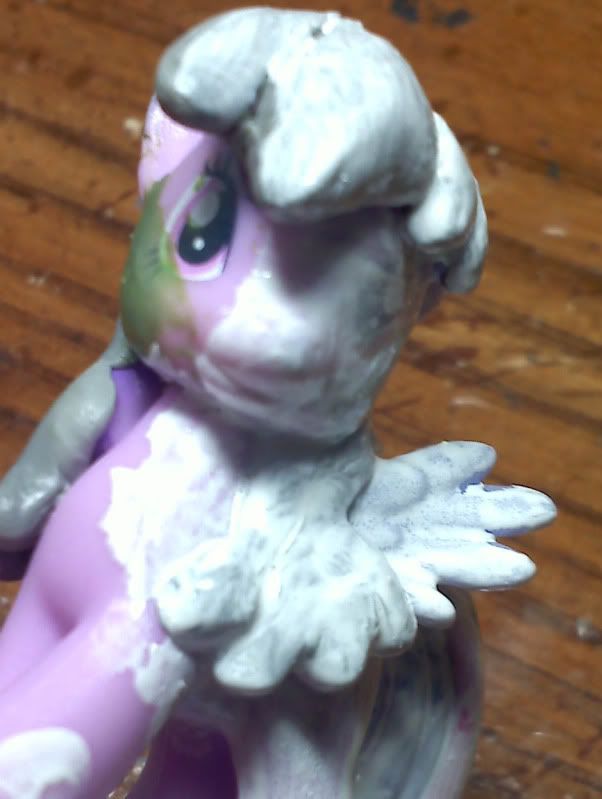
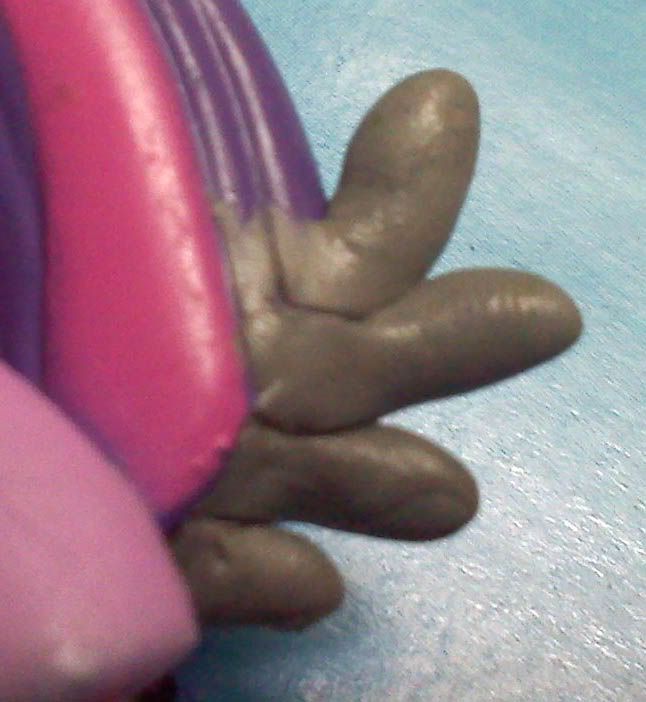 This is a hard process to follow, but I followed the same procedure. If you're not covering the base hair, it's best to work this extra in. I used an exacto knife to score along the lines of the figure's mane, to make it appear to be part of the initial mold.
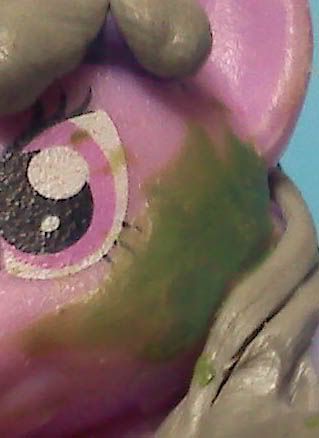 As seen before, the modification had left some scarring on parts of the plastic that were whittled down...mainly in areas I had to remove Twilight's mane. Using green stuff, which is generally easier to manipulate and thin into things, I covered this area with a small amount of green stuff and worked it around with wet fingers until it got as close to the surface of the toy as possible.
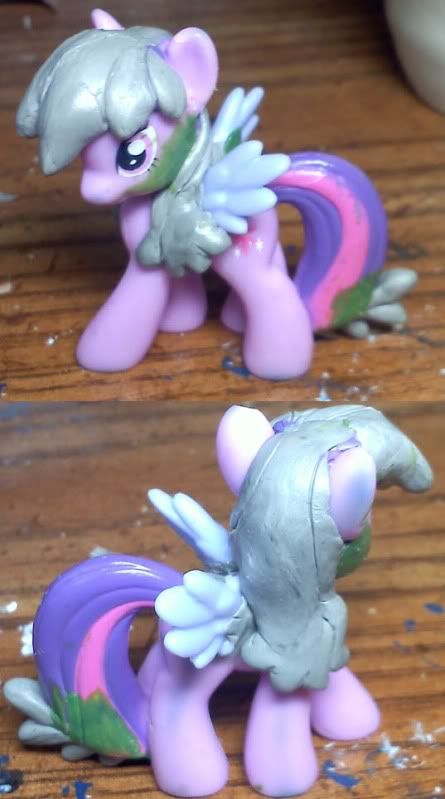 After using this method to repair the cheeks, part of the tail and the back of a wing, I let it set, and decide that this will be just fine!
So, on to primer!
Once you're ready for primer, there are several choices. I am a fan of brush on primer, because of it's convenience and drying time. There's no right or wrong primer to use...the important thing it to use it right. Since Puffcloud is blue, I use a white primer.
 Often times a brush on primer will require several coats, compared to a heavy, single coat of a spray
 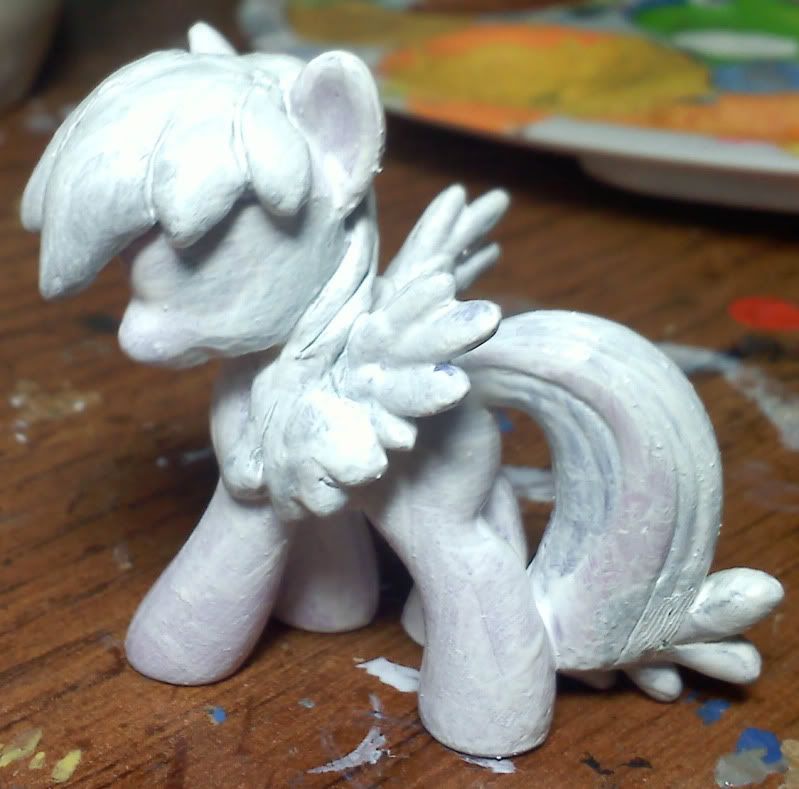 on.
on.
Only two coats so far...but it already looks far more uniform!
Next: basing and base paint coat!
No comments:
Post a Comment